Step 3: Verify the ‘Hanging Position’ of the iTracker
Using the Laser
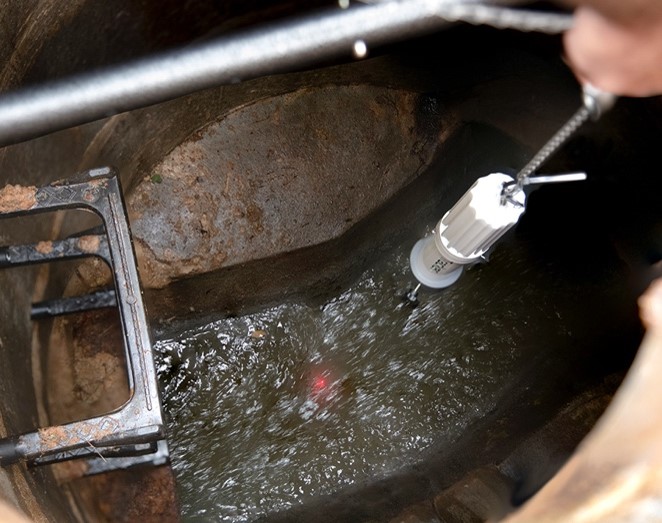
Once the Spanner Bar has been installed. Verify the iTracker ‘hanging’ position by attaching the Laser Alignment Tool to the end of the iTracker.
Next, connect an S-Clip to the eyebolt on the Spanner Bar. Then connect another S-Clip to the iTracker with the LAT attached and turned on.
Now verify the iTrackers position. The iTracker needs to be two to three feet above the trough, centered, for optimal measurement.
Upon verifying the position of the iTracker, disconnect the iTracker from the eyebolt. Remove and turn off the LAT.
Time to install the antennas.
Proceed to the next stepExample Placement: